Getting Started with AuditFile
In just a few minutes, you can accomplish a lot!
Quick Start Guide
Onboarding Checklist
Deploying AuditFile to your firm is easy, here is a quick start guide to begin a successful deployment.
Dedicated Support Line
+1 (888) 502-7001
Email Us Any Time
[email protected]
Contact us with questions or to schedule a free
tutorial
with an AuditFile expert.
- Log In and Create Additional Users
- Create a Client
- Create an Engagement
- Explore Firm Settings and Permissions
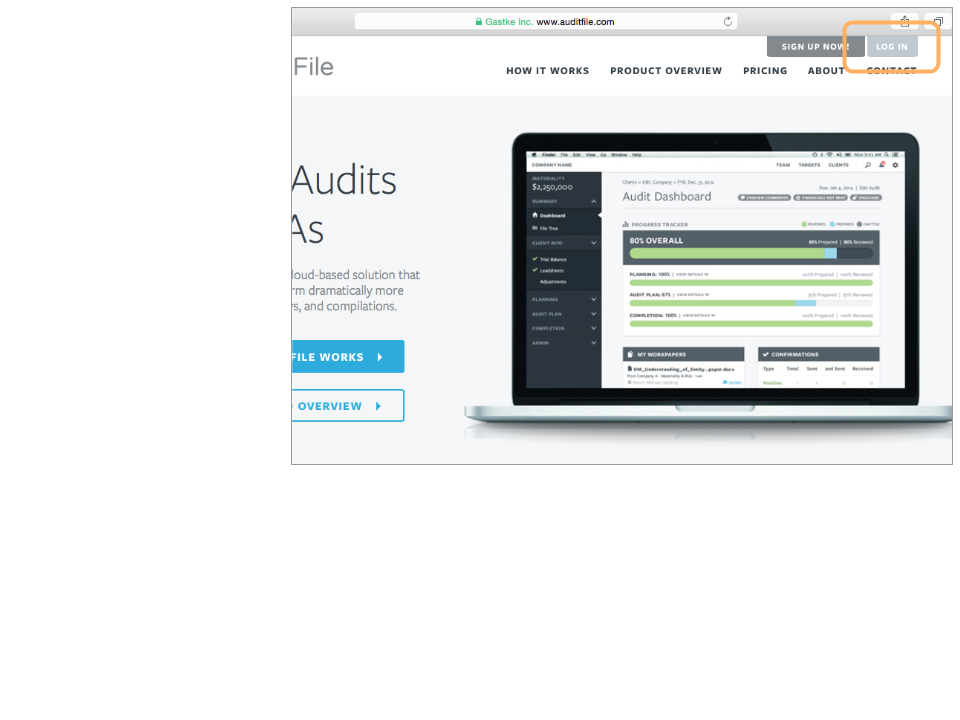
1. Log In and Create Additional Users
1.1
You can log in to AuditFile from any connected device by clicking
Log In
from the AuditFile home page.
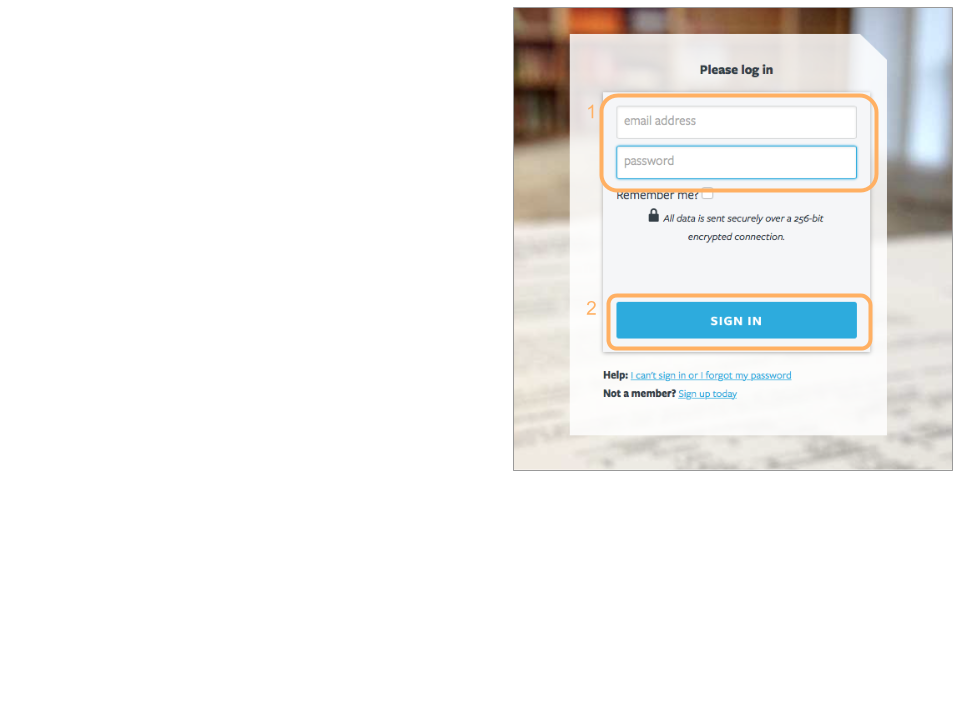
1.2
Enter your email and password, then click
Sign In.
1.3
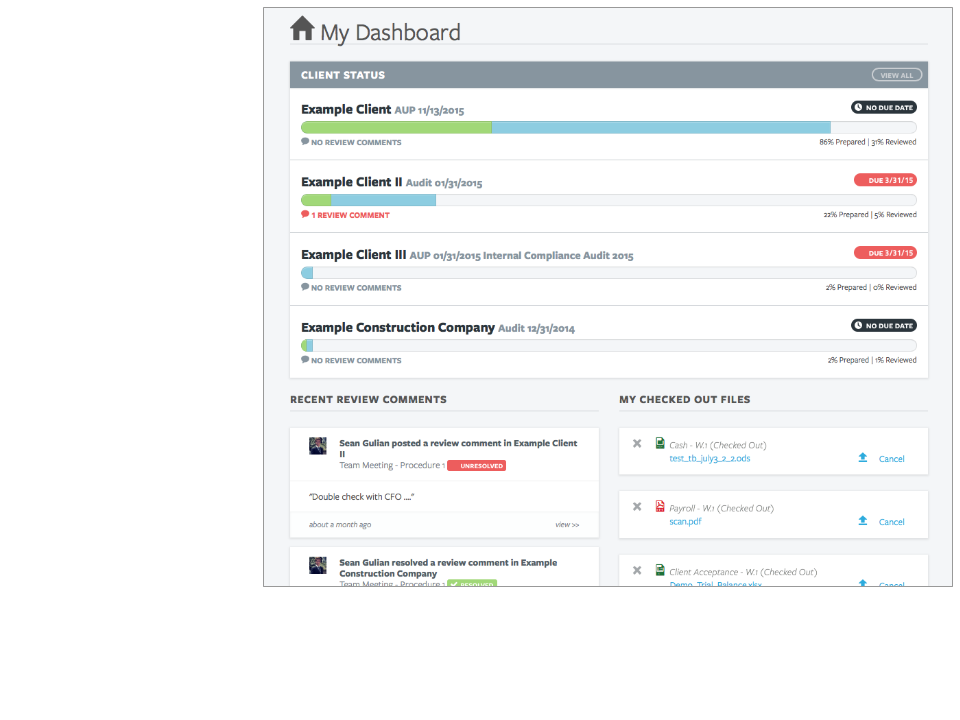
When you log in, you will always see your
Dashboard
first. The dashboard shows you recent engagements, relevant review comments, and your checked-out workpapers.
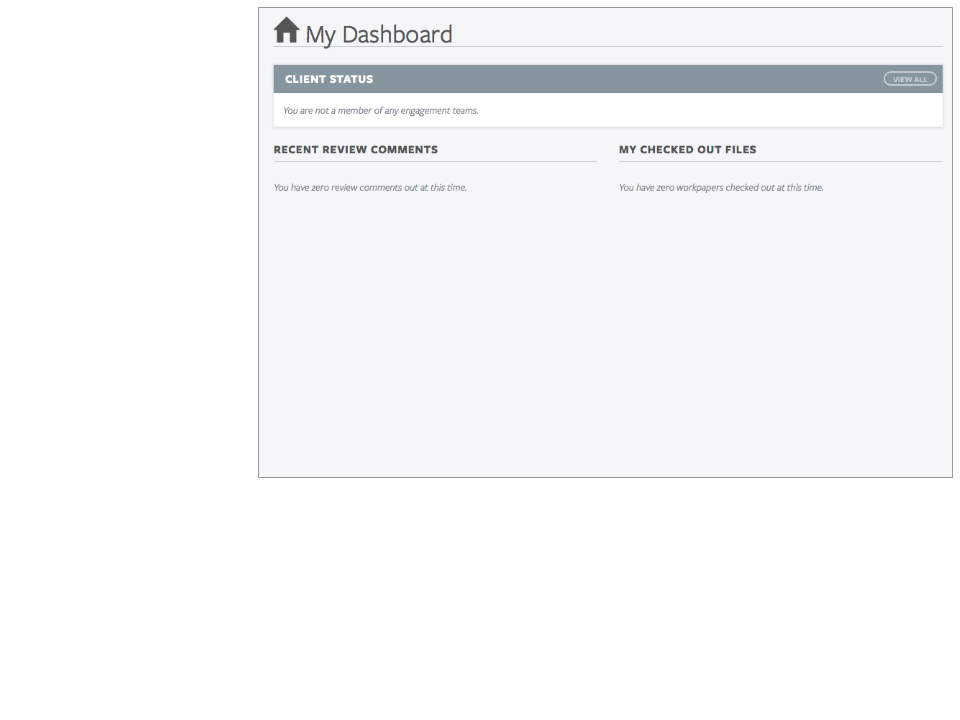
1.4
As you begin to use AuditFile, your Dashboard will automatically display information.
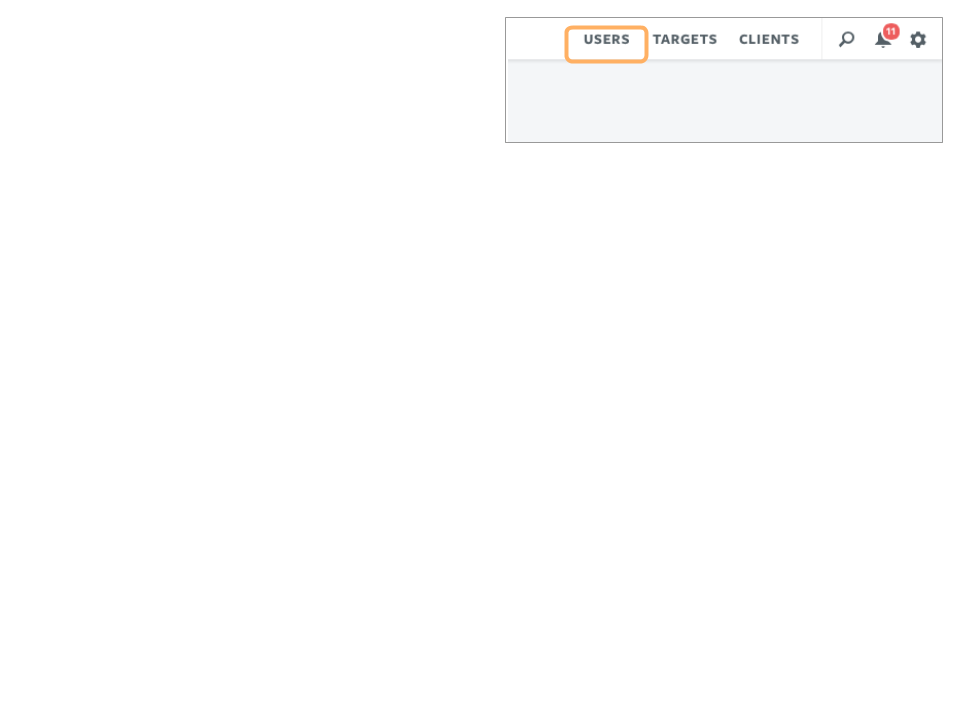
1.5
To invite additional firm users, click
Users
in the navigation bar located on the top right of the screen.
This navigation bar is visible on every view in AuditFile. We'll take a minute to explain
what each link does.
| View, add, and remove colleagues. | |
| A light-weight CRM tool to help your firm track leads and win more business. | |
| Access all of your firm's clients in once place. | |
| Search: find just about anything. | |
| Notifications: stay updated on important information. For example, if a user leaves a review comment on a procedure that you prepared, you will be notified. | |
| Settings: Edit personal, firm, and billing preferences. |
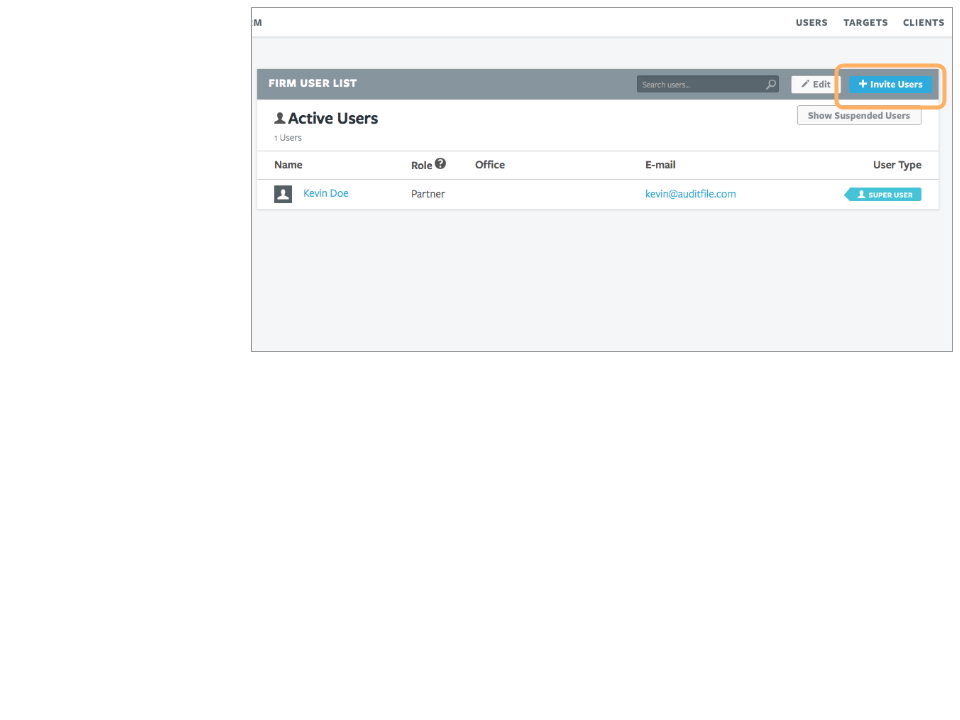
1.6
Next, click
Invite Users
Note:
You must be a user with the correct permissions to add new users. See section 5: firm settings and permission in this quick start guide.
You must be a user with the correct permissions to add new users. See section 5: firm settings and permission in this quick start guide.
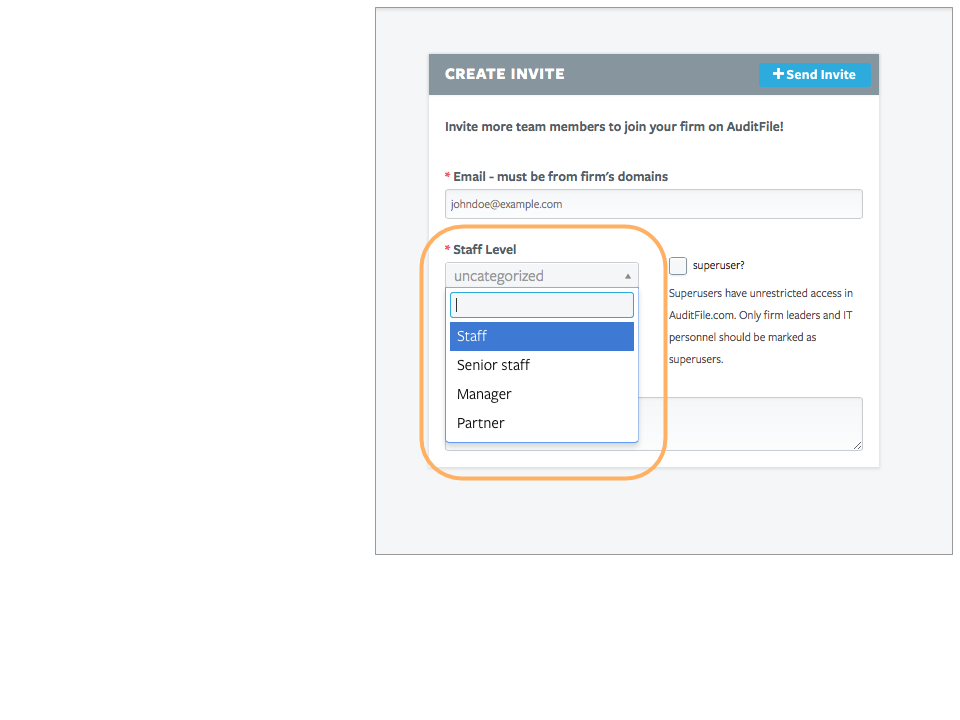
1.7 (a)
Fill out your colleague’s email and staff level. Then click
Send Invite.
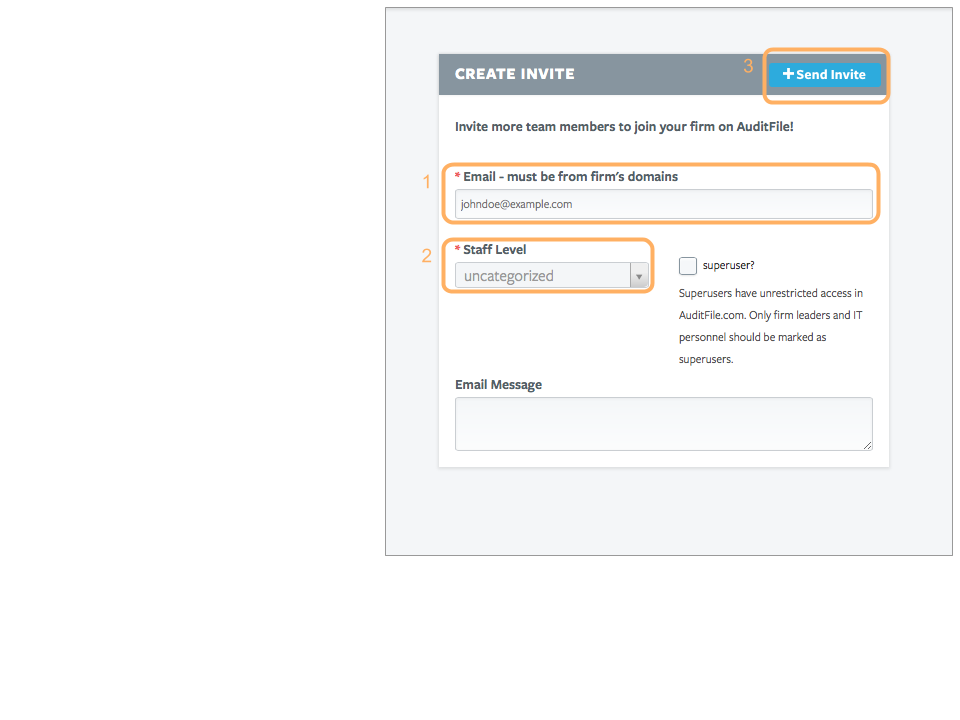
1.7 (b)
AuditFile comes preloaded with several common
staff levels.
Note
A user's staff level will determine the permissions he or she has. See section 5: firm settings and permission in this quick start guide for more information regarding setting permission and customizing staff levels.
A user's staff level will determine the permissions he or she has. See section 5: firm settings and permission in this quick start guide for more information regarding setting permission and customizing staff levels.
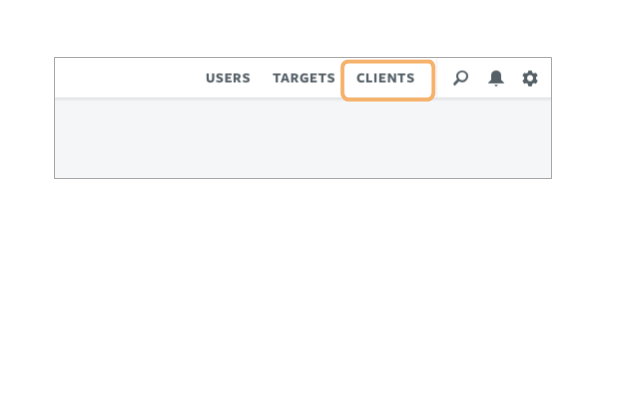
2. Create a Client
2.1
Click
Clients
in the navigation bar located on the top right corner of AuditFile.
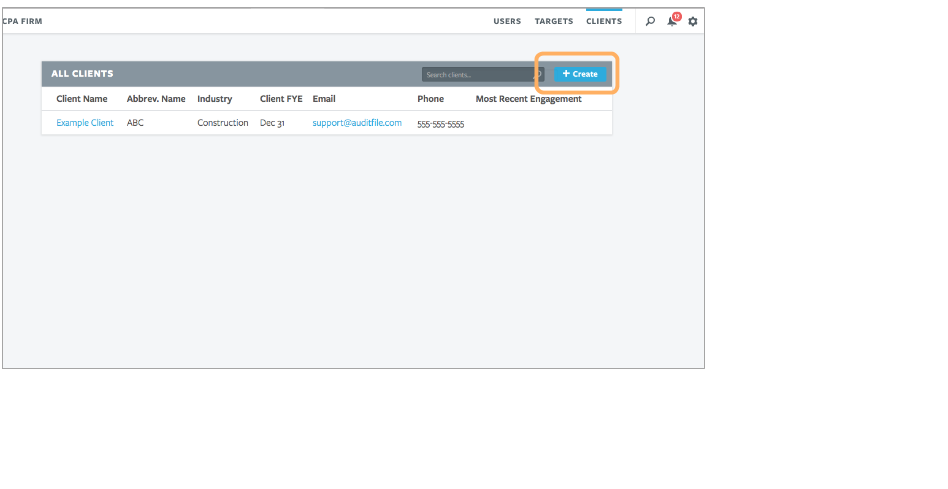
2.2
This will bring you to the client index page. Now click
Create
Note:
You must be a user with the correct permissions to create clients. See section 5: firm settings and permission in this quick start guide.
You must be a user with the correct permissions to create clients. See section 5: firm settings and permission in this quick start guide.
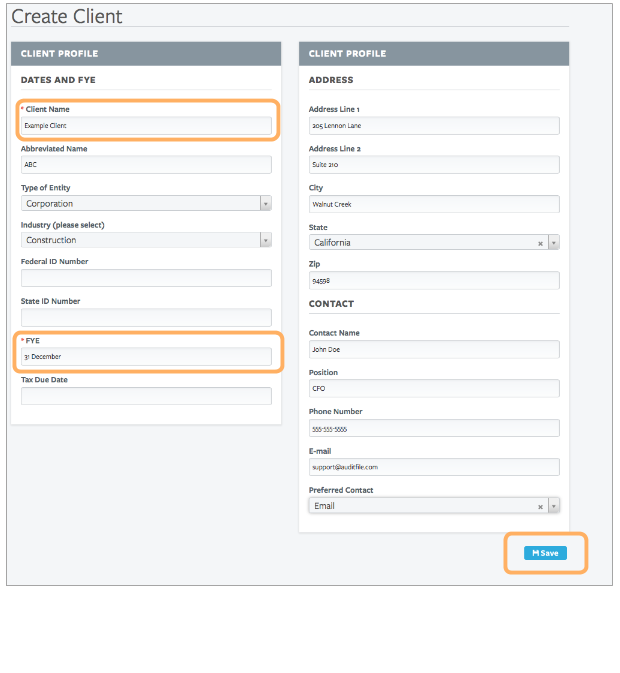
2.3
This will bring you to a form to create a new client. Client name is required and must be
unique. Financial year end (FYE) is also required.
Click Save.
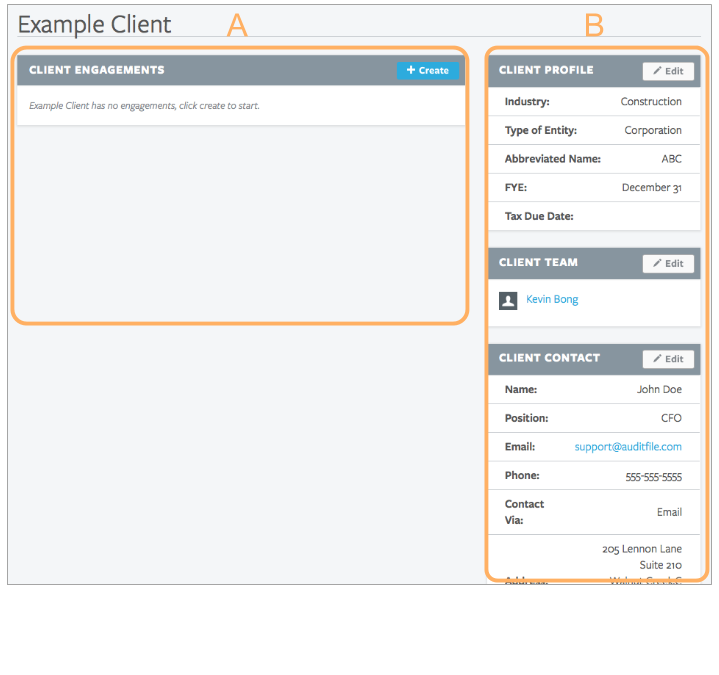
2.4
After creating a client, you will be directed to that client's profile page. From this page you can
access
Box A) all engagements belonging to that client
Box B) all client information
3. Create an Engagement
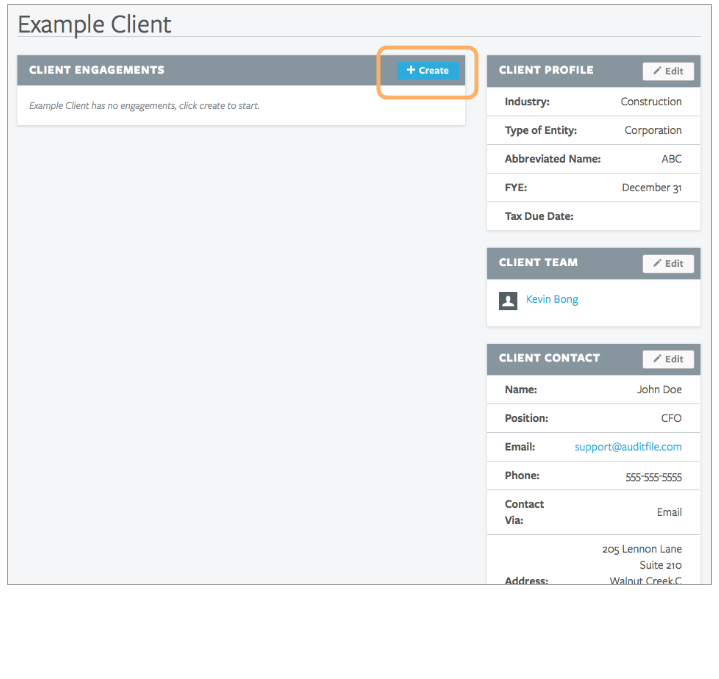
3.1
Now that you have created a client, you can create an engagement in that client.
Click
Create
in the "client engagements" box on the client profile page.
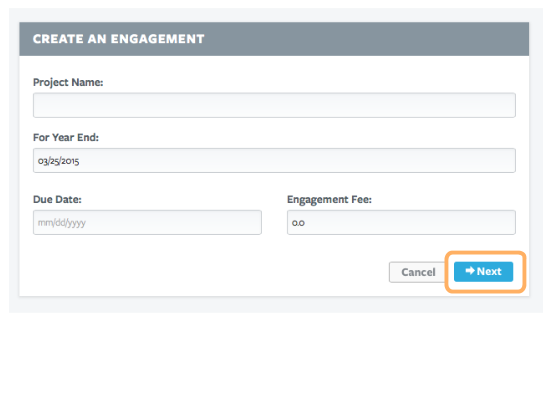
3.2
AuditFile will walk through
three simple steps
to help create your engagement. On the
first screen, you can edit the project name, year end, due date, and fee.
3.3 (a)
On step two, you can select your engagement template and add additional levels of review.
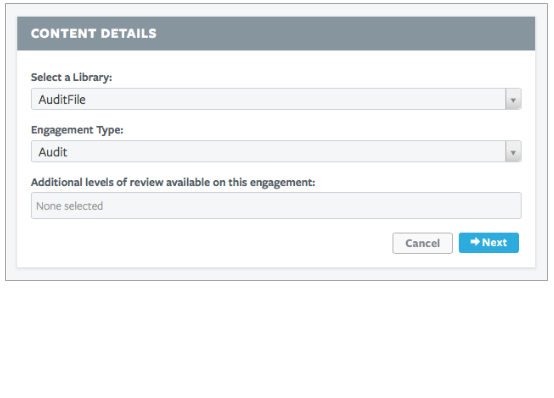
3.3 (b)
AuditFile comes pre-loaded with several engagement templates. You can also load in custom templates.
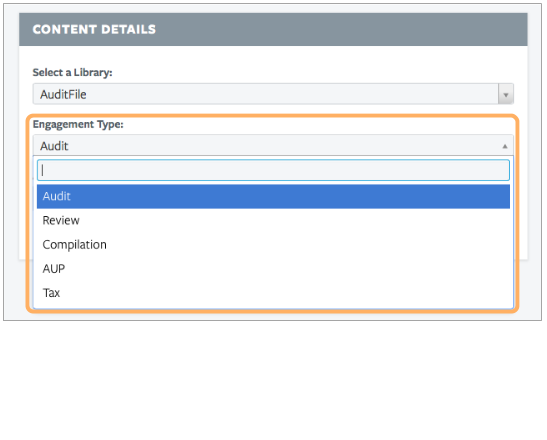
3.3 (c)
AuditFile comes pre-loaded with several additional levels of review. You can customize review levels in firm
settings.
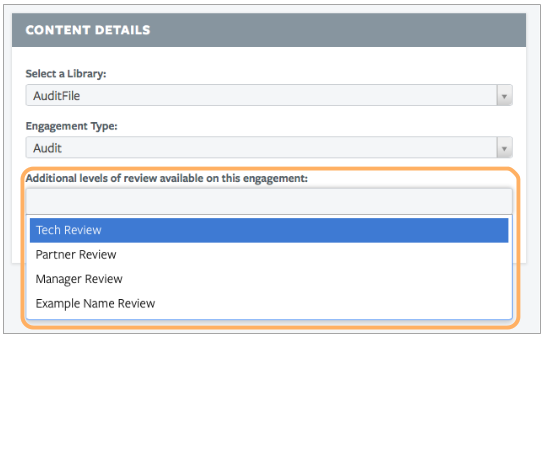
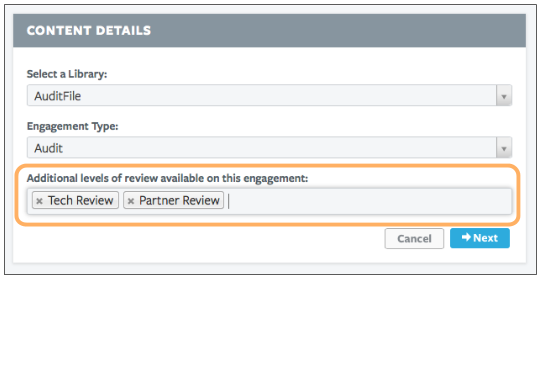
3.3 (d)
Multiple levels of review can be added.
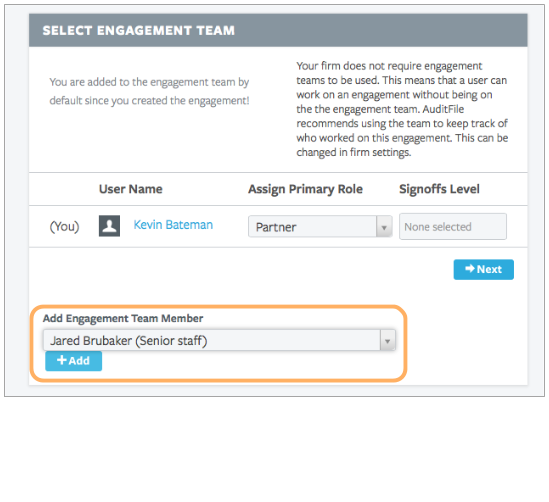
3.4
The last step is to add engagement team members.
3.5
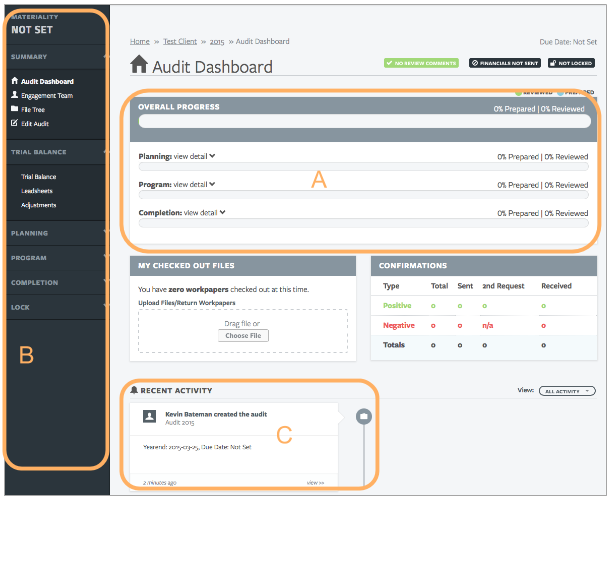
After you create an engagement, you are directed to the engagement
dashboard.
Box A) Progress bars for planning, program, and completion areas.
Box B) The sidebar allows us to navigate through the audit file.
Box C) Activity feed / audit trail.
3.6
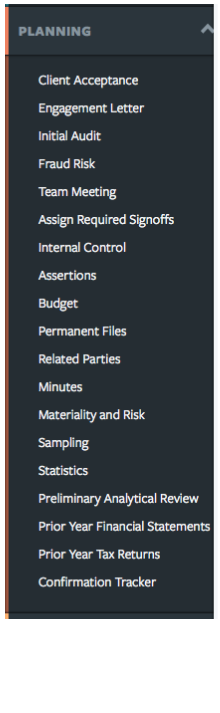
An example of the planning area of the sidebar expanded. AuditFile is ready to go "out-of-the-box".
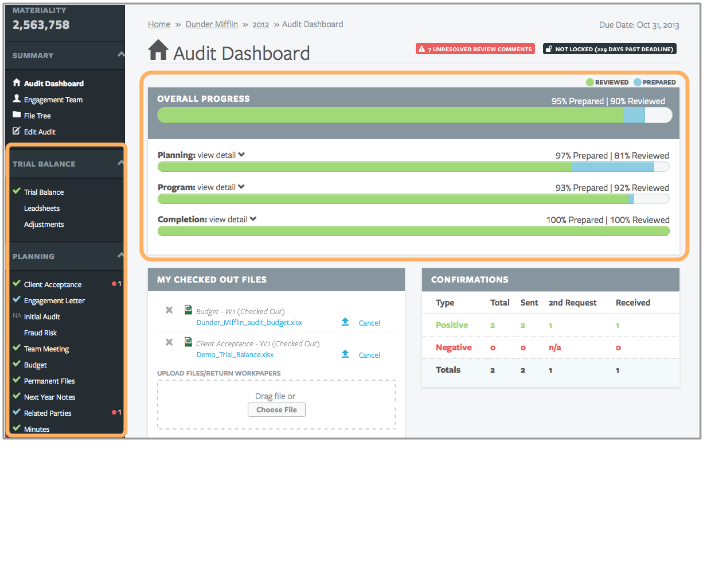
3.7
As audit procedures are completed, the dashboard will update in real time.
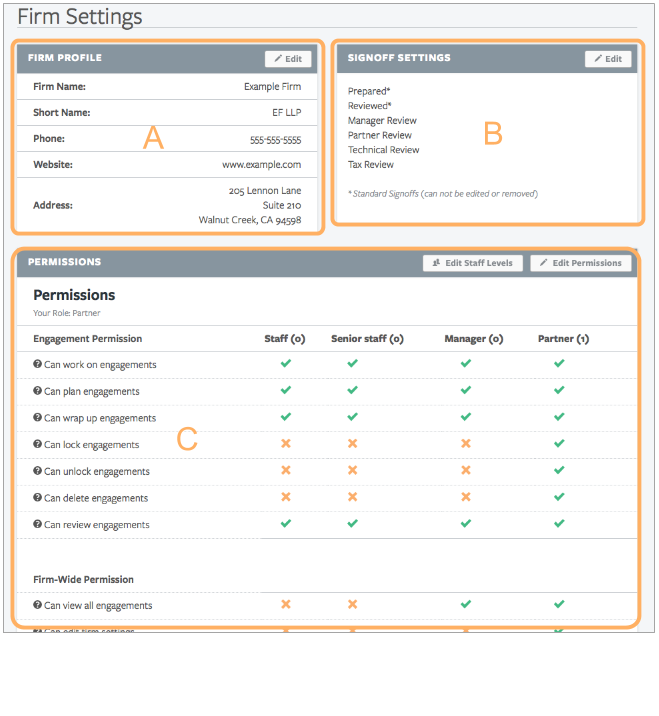
4. Explore Firm Settings and Preferences
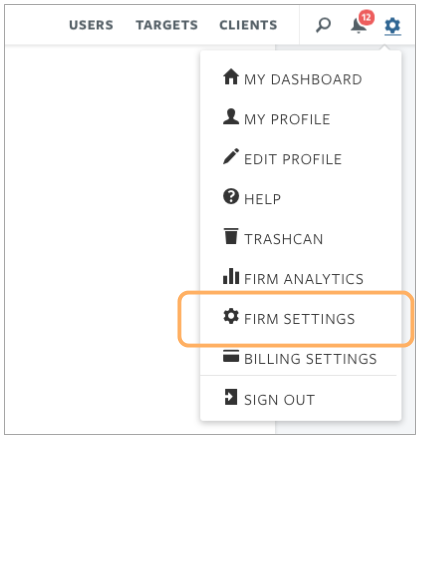
4.1
Click
in the navigation bar located on the top right corner of AuditFile. Then click
firm settings.
4.2
You will be directed to the firm settings page.
Box A) General firm information and settings (firm name, address, website, contact, etc.).
Box B) Additional levels of signoff (manage signoff requirements for engagements).
Box C) Staff levels and permissions.